
Kickstart your journey by registering on Kidvoyage. In the top right corner, click Account, to access the Log In screen.

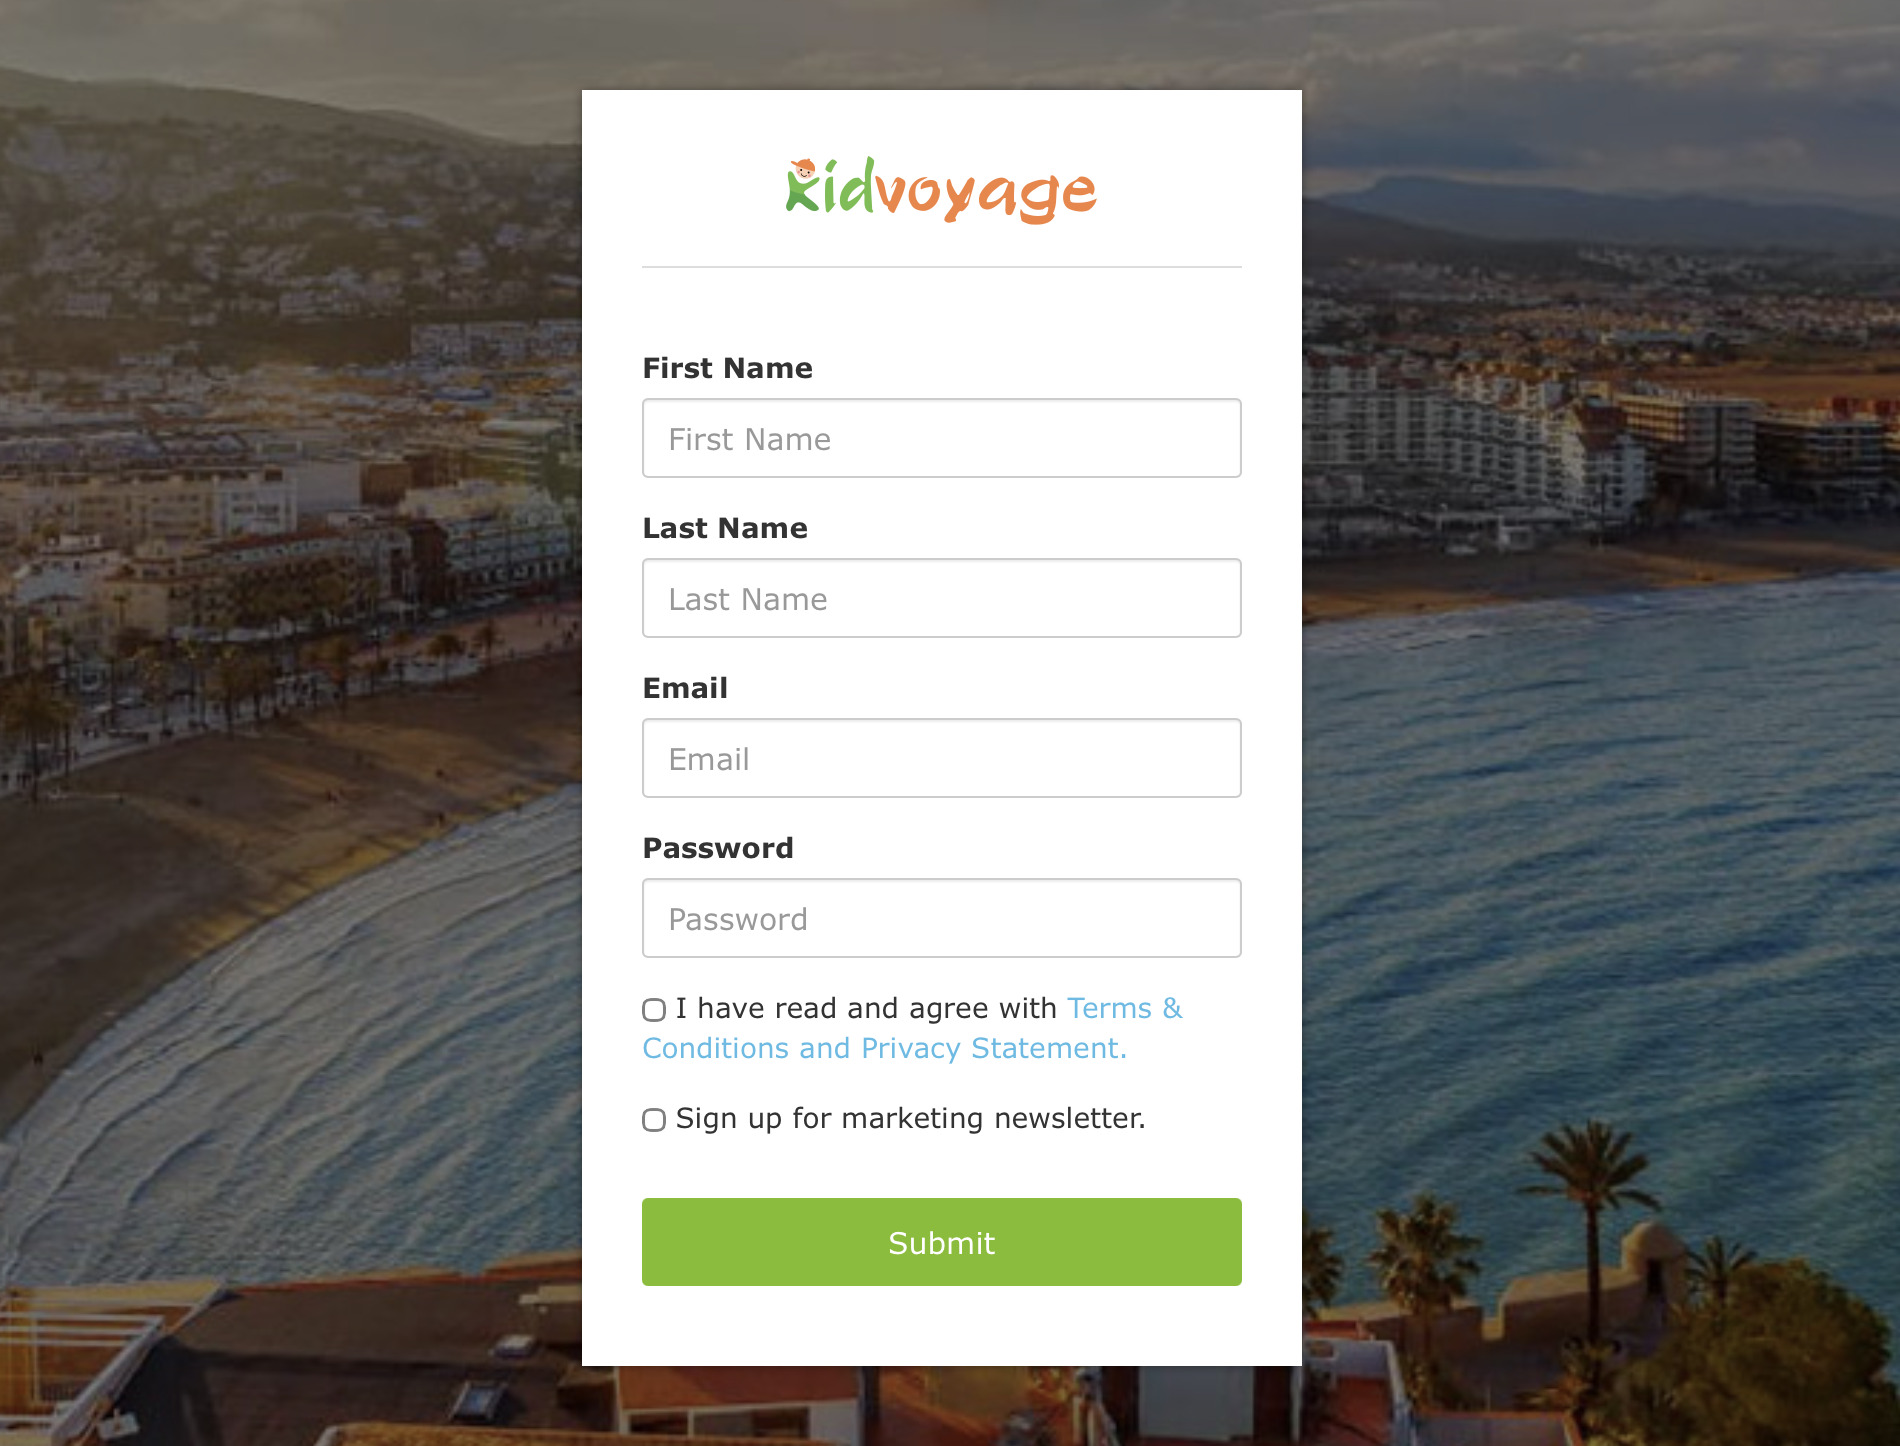
Here, click Sign Up Now, and fill out all the required fields with your details.
You'll receive a confirmation email with a link to complete registration. If it doesn't appear in your inbox, check your spam folder. Once confirmed, you're officially part of the Kidvoyage family and ready to build!
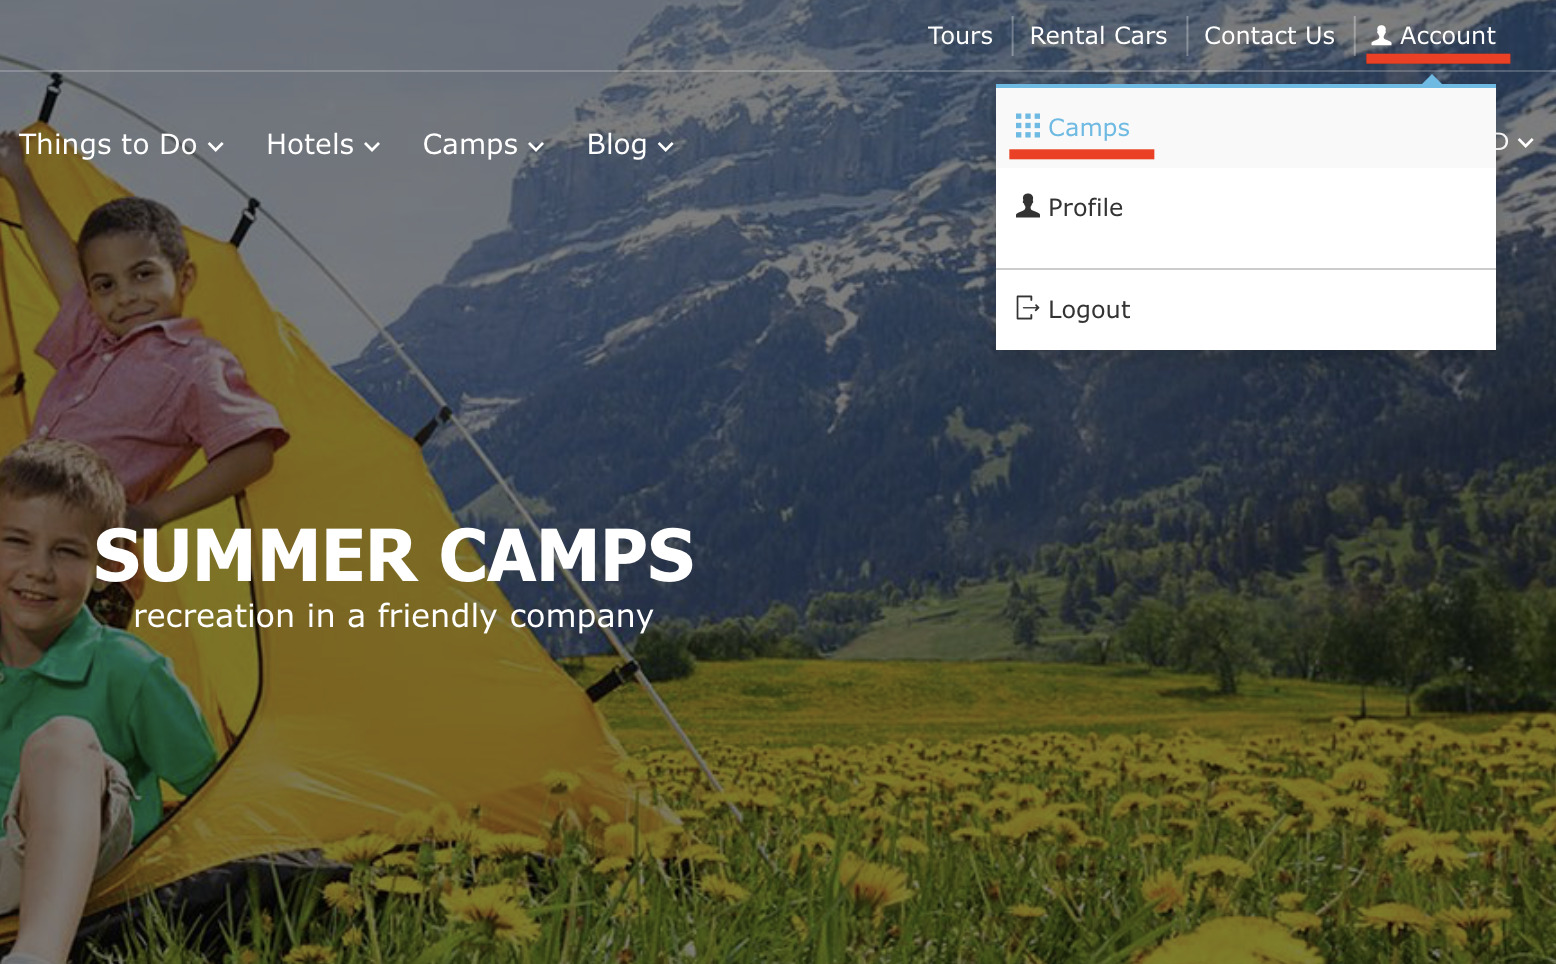
Head to the top right corner and click Account > Camps.
Complete the Provider form with accurate contact information. Make sure to enter a valid email address—this is where you'll receive applications from families ready to enroll.
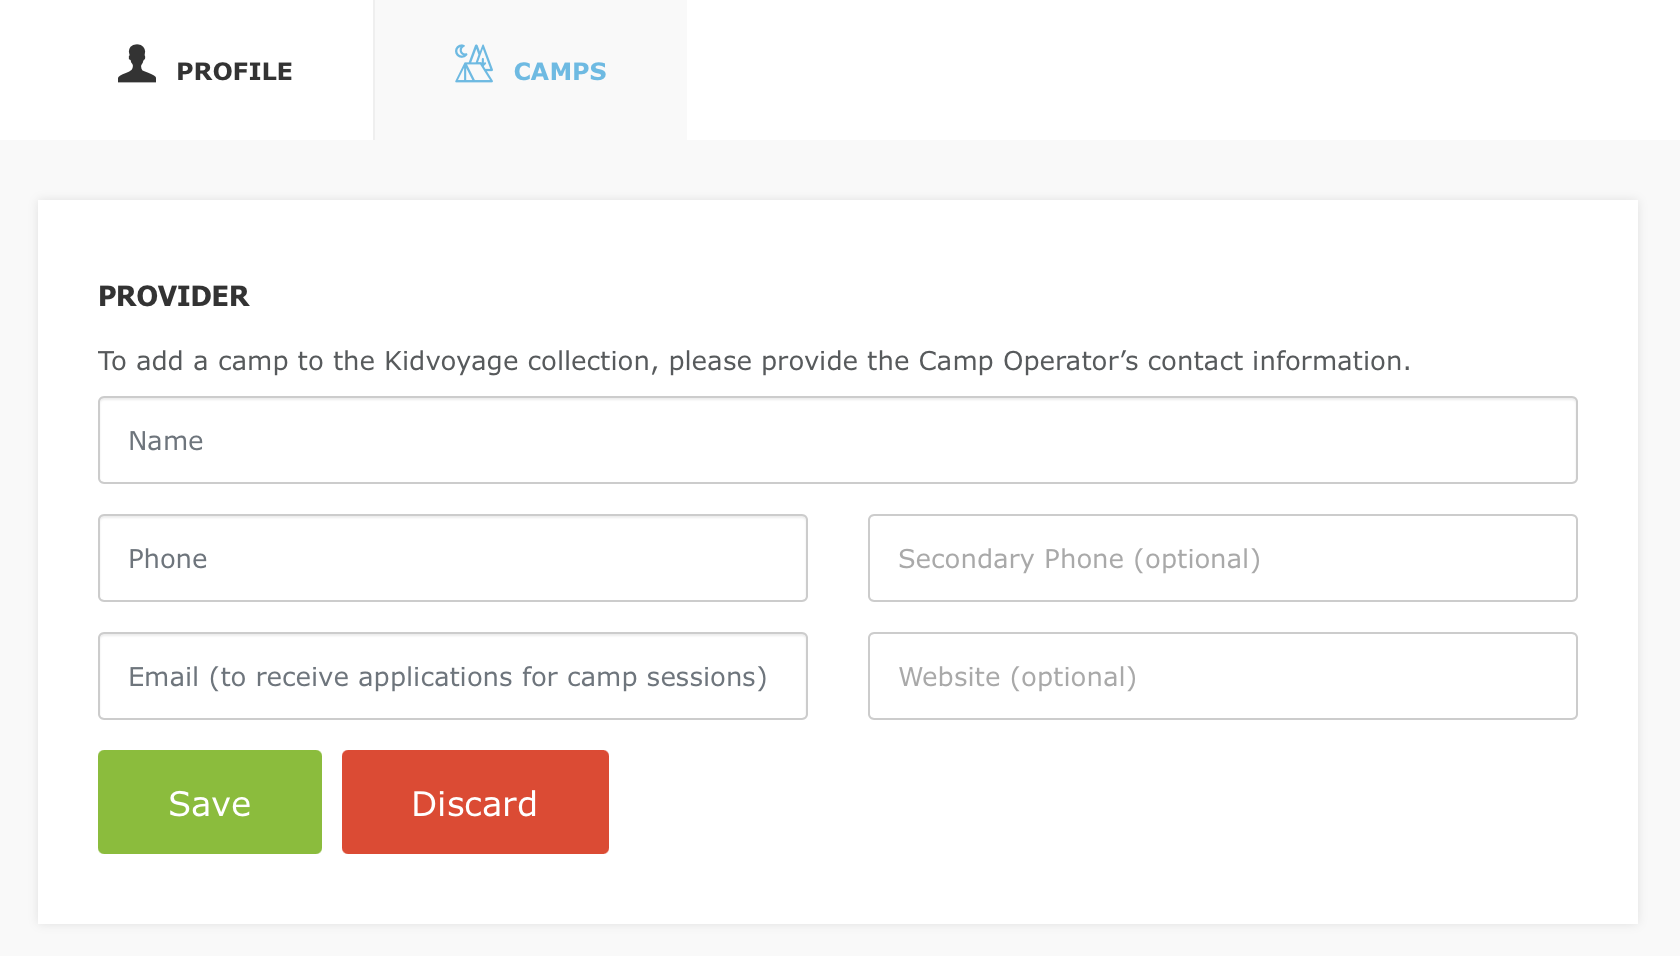
Once saved, the Add Camp button activates, unlocking the next exciting step!

Now for the creative part! Fill out the camp questionnaire to bring your program to life. Check all boxes that apply and provide a complete and accurate information.
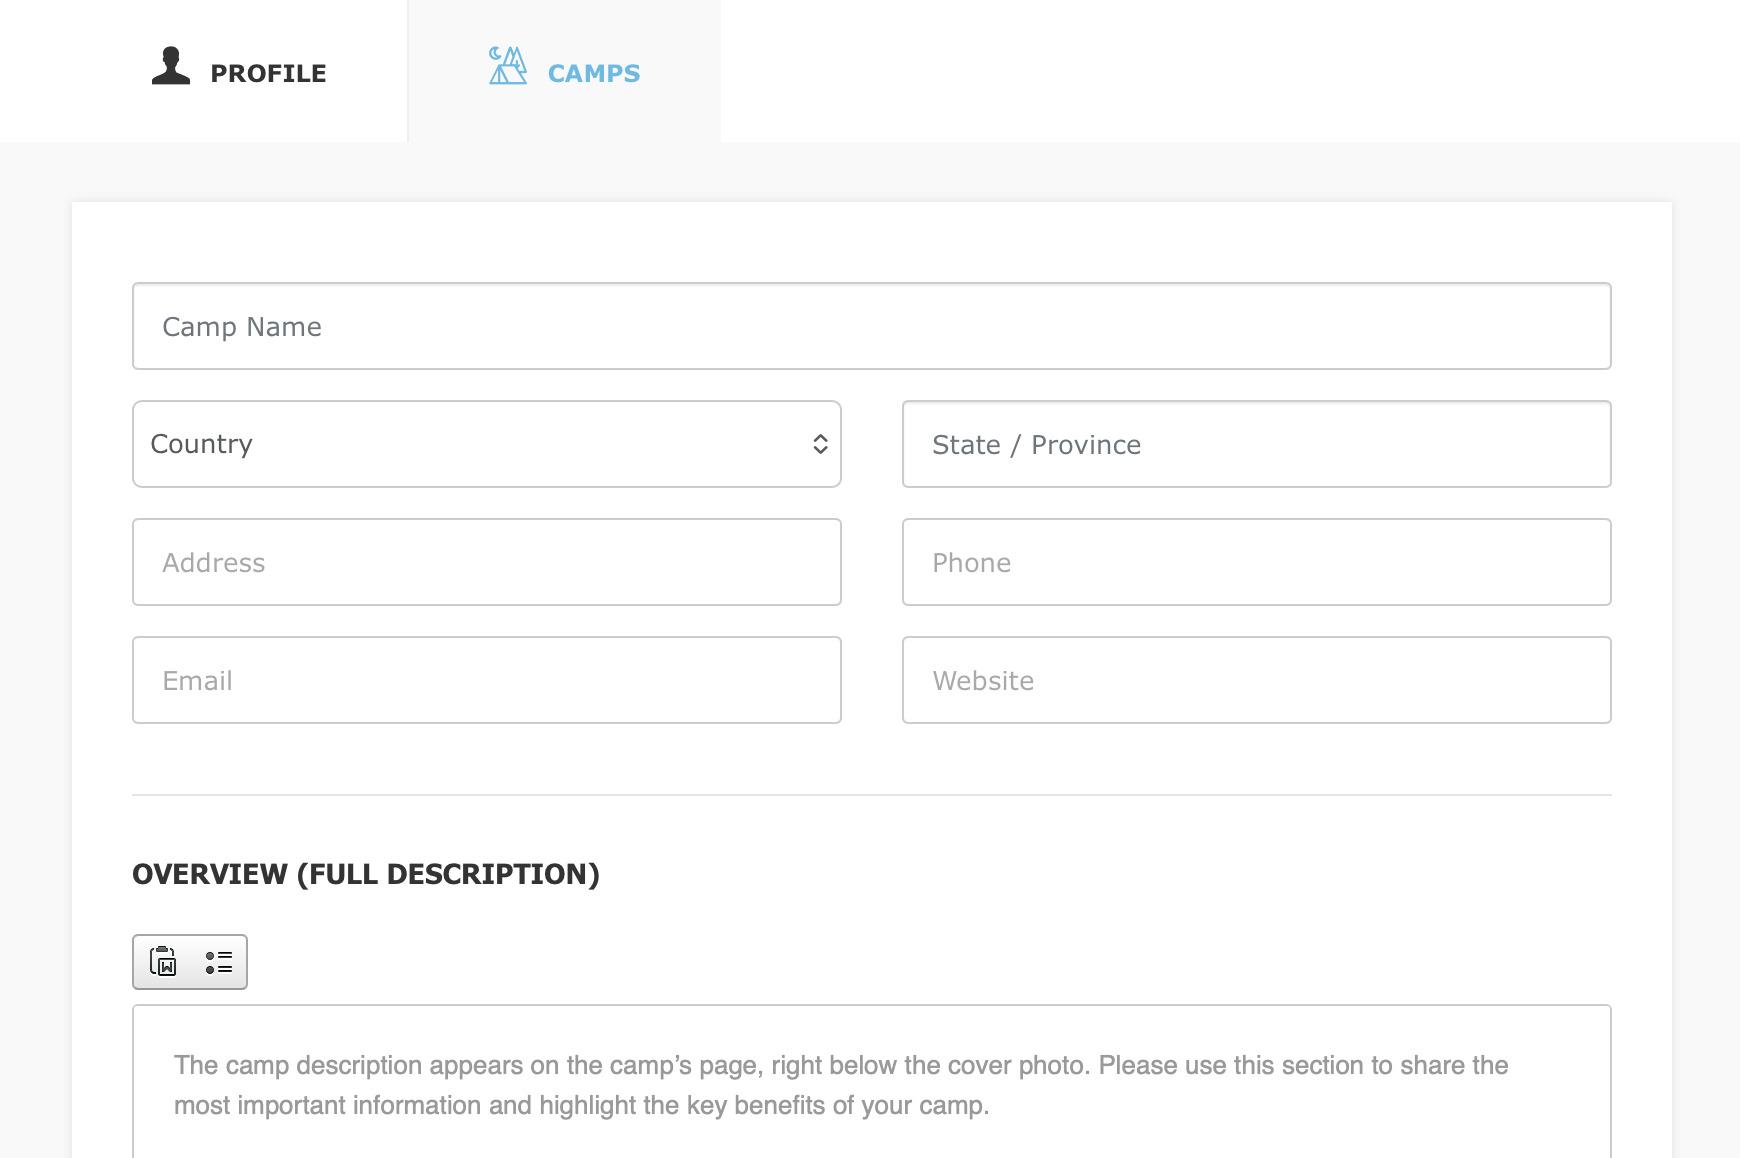

Here's how to make it shine and captivate parents:

Accommodations, Meals, Medical Services, Security, and Camp Traditions
Detail the comfortable sleeping arrangements, nutritious dining options, on-site medical support, robust security measures, and cherished traditions that make your camp special. This reassures parents and builds trust!
Infrastructure: List your facilities (e.g., playgrounds, pools) with each item starting on a new line and capitalized for clarity.
Leisure Program: Provide a thorough description of your daily activities, events, and adventures—this is crucial for helping parents picture the fun and choose your camp!
Leisure Program (List – Optional): Offer a concise bullet-point summary of key highlights, each starting on a new line with a capital letter.
Included in Cost: Itemize all the fantastic perks covered in the fee, starting each with a capital letter on a new line.
Paid Extra: List any optional add-ons, formatted the same way.
Notes: Share any additional important details not covered elsewhere.
Sessions: Add your session dates, name them (e.g., "Session 1"), select one currency, and input the price. Keep it current to attract eager enrollments!
Photos: Upload a stunning horizontal main image with high resolution, plus 5-10 gallery photos (at least 1000 pixels wide). Quality visuals are key to drawing families in!
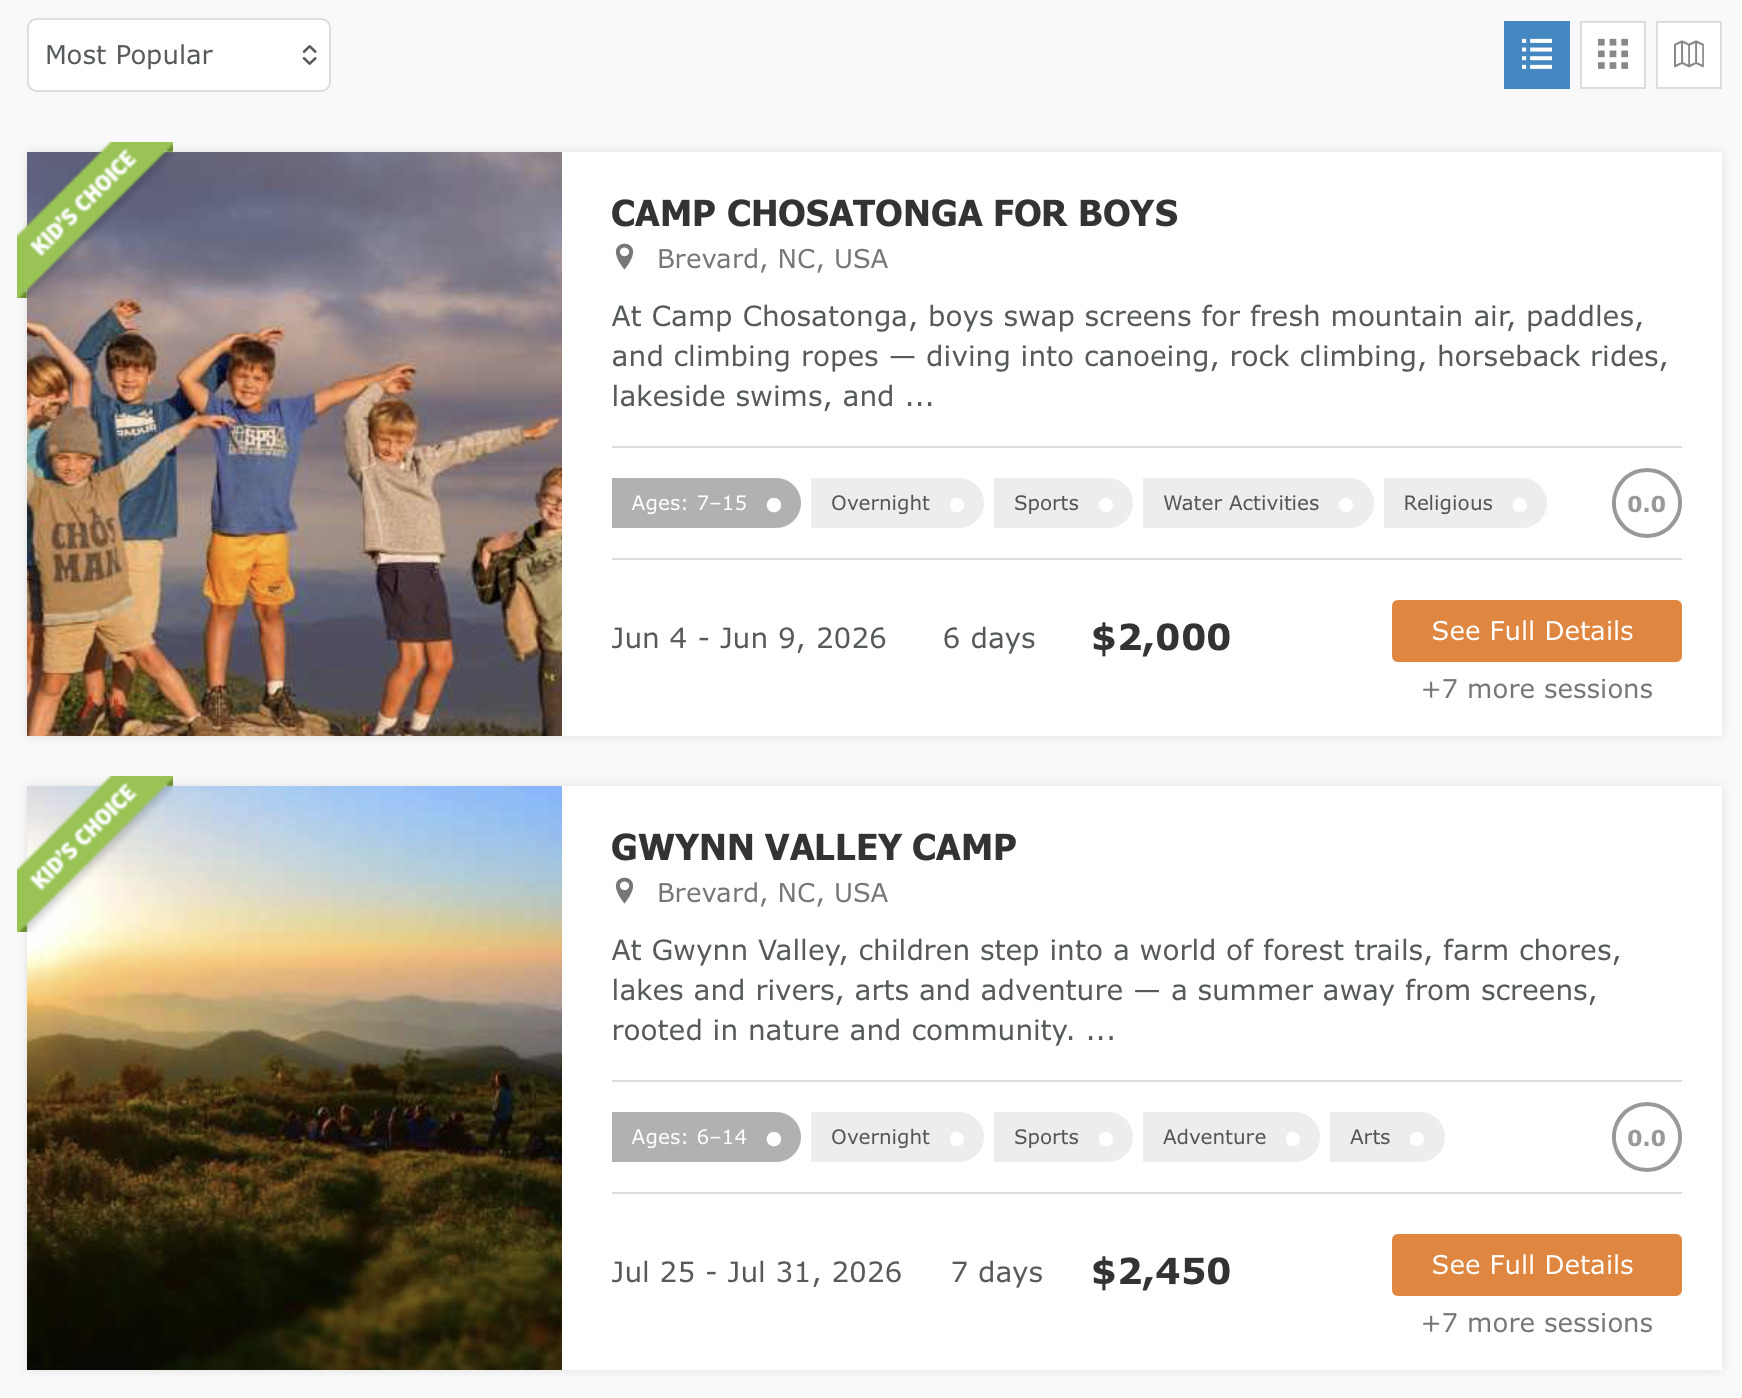
For inspiration, check out our example of a fully completed camp questionnaire below.
Once submitted, your camp listing undergoes a quick review to ensure it meets our quality standards. This process can take up to 3 business days, but most are approved swiftly. We'll notify you as soon as it's live and ready to generate leads!
Have several camps or programs? Fantastic! Add each one individually to spotlight their unique aspects. Even if the core program is similar, create separate listings for different locations (e.g., beach, city, or forest) or countries to provide tailored details and maximize your reach.